Technical Forums» Audio / Stereo» Micratech audio install progress (PICS)
|
micratech » CMF Member Geithus Norway Member since:      Posts:      |
Micratech audio install progress (PICS) |
Sat 03 Dec 2005 03:37:20 AM |
|
I have got a few audio components to install this winter.
- Focal 165A1 (165mm component kit) - Focal 25A1 (10" subwoofer) - Helix H400 Espirit (digital 4way amplifier) I have just started the build and I will be taking pics along the way so you guyes can see the progress.. |
||
|
|
||
|
micratech » CMF Member Geithus Norway Member since:      Posts:      |
Re: Micratech audio install progress (PICS) |
Sat 03 Dec 2005 03:40:11 AM |
|
MDF baffle rings hotglued to the original speakergrill/sidepocket after the speakergrill has been cut out to make room for the new speaker..
|
||
Image Attached: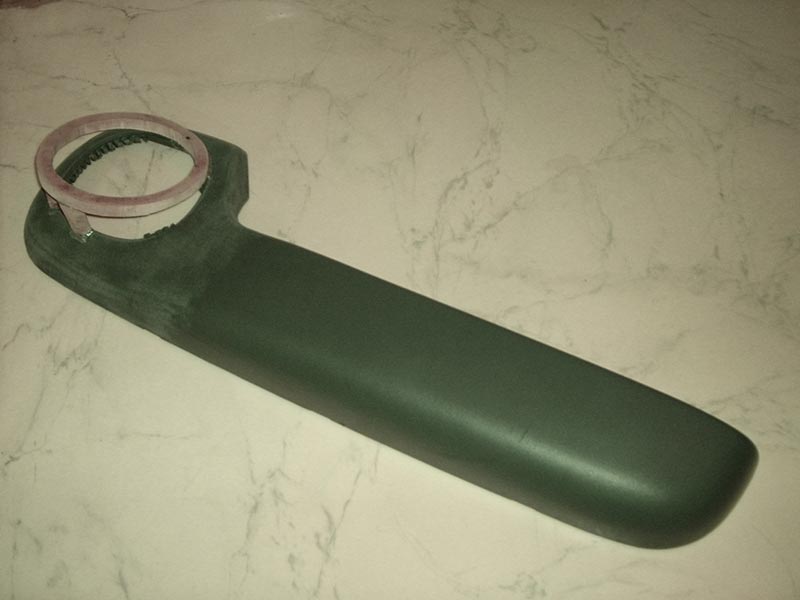
|
||
|
micratech » CMF Member Geithus Norway Member since:      Posts:      |
Re: Micratech audio install progress (PICS) |
Sat 03 Dec 2005 03:41:00 AM |
|
Here is a closeup..
|
||
Image Attached: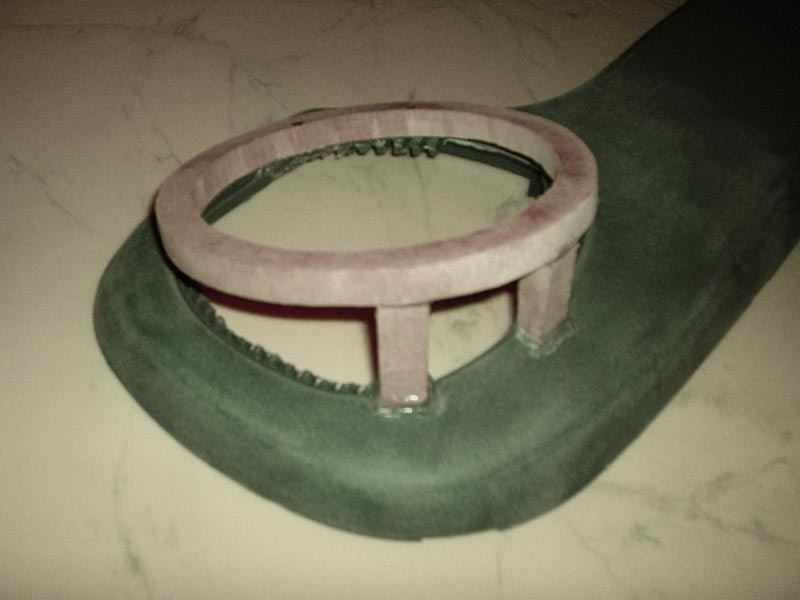
|
||
|
micratech » CMF Member Geithus Norway Member since:      Posts:      |
Re: Micratech audio install progress (PICS) |
Sat 03 Dec 2005 03:44:23 AM |
|
The pod is sprayglued and a piece of cloth from an old tshirt is stretched over to make a nice flowing shape over the bafflering..
|
||
Image Attached: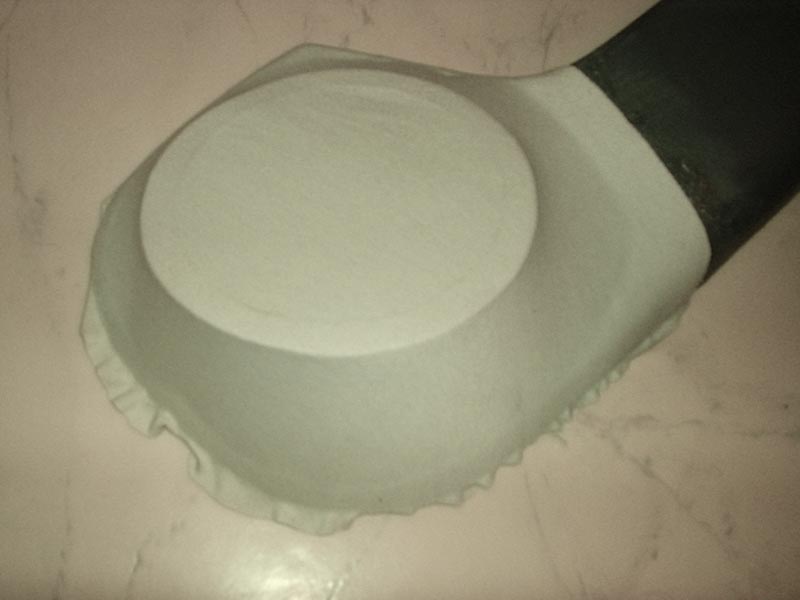
|
||
|
micratech » CMF Member Geithus Norway Member since:      Posts:      |
Re: Micratech audio install progress (PICS) |
Sat 03 Dec 2005 03:49:42 AM |
|
Polyester resin is applyed with a paintbrush so the whole cloth is fully soaked. When dry the speakerhole is cut out with a stanleytype knife and two layers of fiberglass cloth is cut to fit the inside of the pod. More resin is applyed on the inside then fiberglass cloth, resin, fiberglass cloth and resin again..
|
||
Image Attached: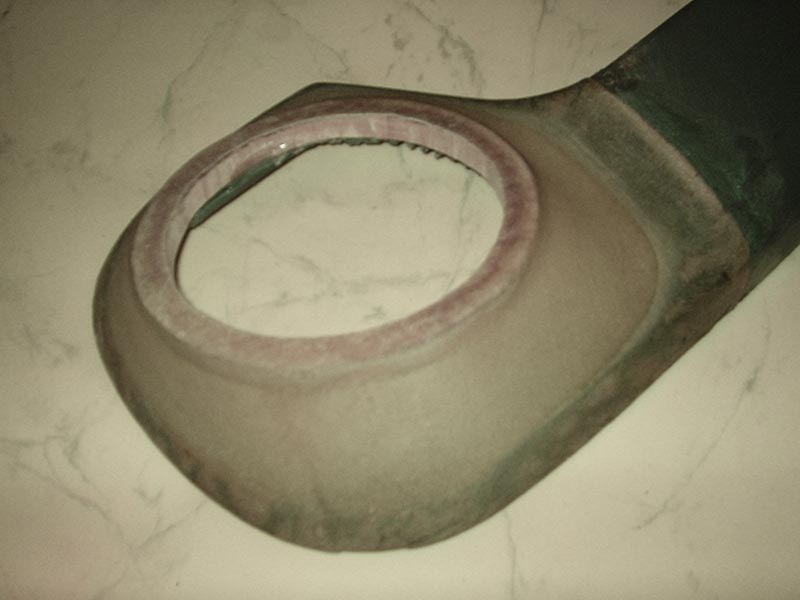
|
||
|
micratech » CMF Member Geithus Norway Member since:      Posts:      |
Re: Micratech audio install progress (PICS) |
Sat 03 Dec 2005 03:50:33 AM |
|
Here is a pic of the pod from another angle..
|
||
Image Attached: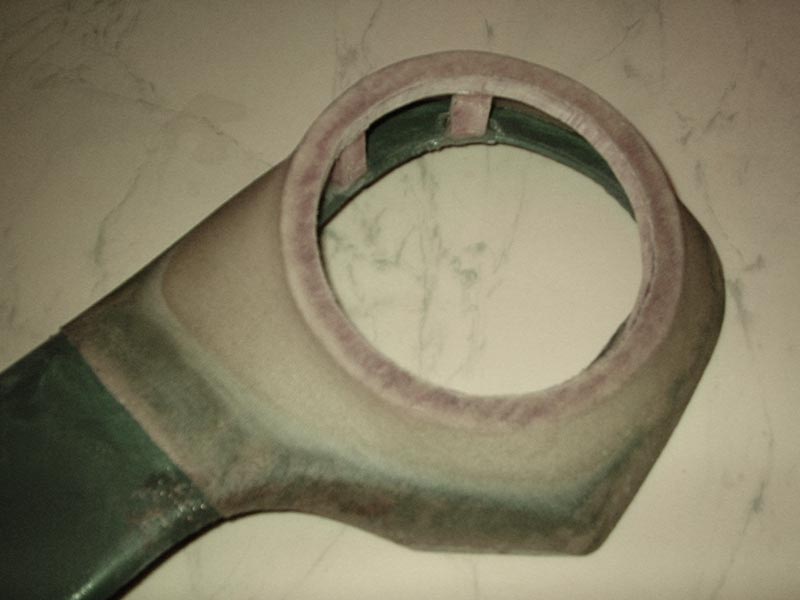
|
||
|
jaxx » CMF Member United Kingdom Member since:      Posts:      |
Re: Micratech audio install progress (PICS) |
Sat 03 Dec 2005 04:03:48 AM |
|
superb DIY mate, looks like it's coming along very well, keep up the work and the pics
|
||
|
cisco » CMF Member Canberra Australia Member since:      Posts:      |
Re: Micratech audio install progress (PICS) |
Sat 03 Dec 2005 08:33:07 AM |
|
That's pretty clever Micratech.
|
||
|
micratech » CMF Member Geithus Norway Member since:      Posts:      |
Re: Micratech audio install progress (PICS) |
Thu 08 Dec 2005 01:59:28 AM |
|
Fine filler is applyed to smooth the pod. All dodgy areas are covered with the filler..
|
||
Image Attached: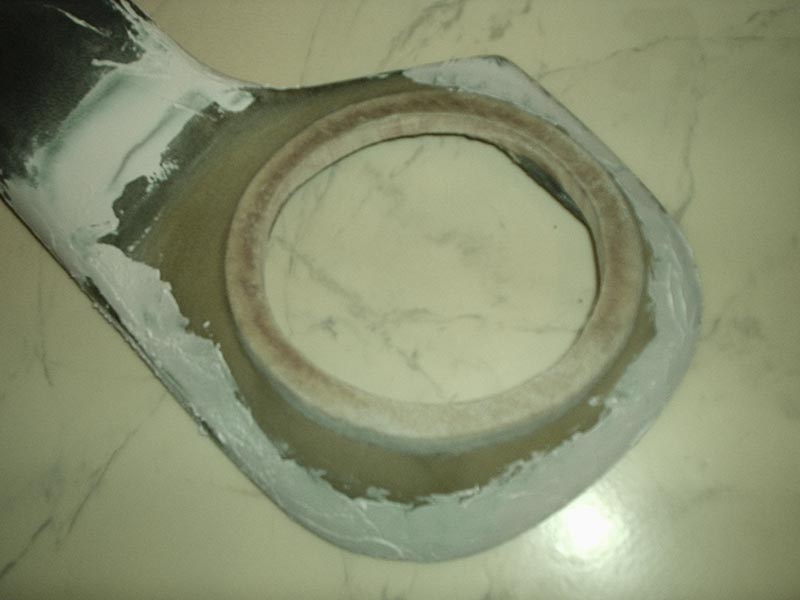
|
||
|
micratech » CMF Member Geithus Norway Member since:      Posts:      |
Re: Micratech audio install progress (PICS) |
Thu 08 Dec 2005 02:01:23 AM |
|
When dry, the filler is sanded down with sandingpaper and a sandingblock..
|
||
Image Attached: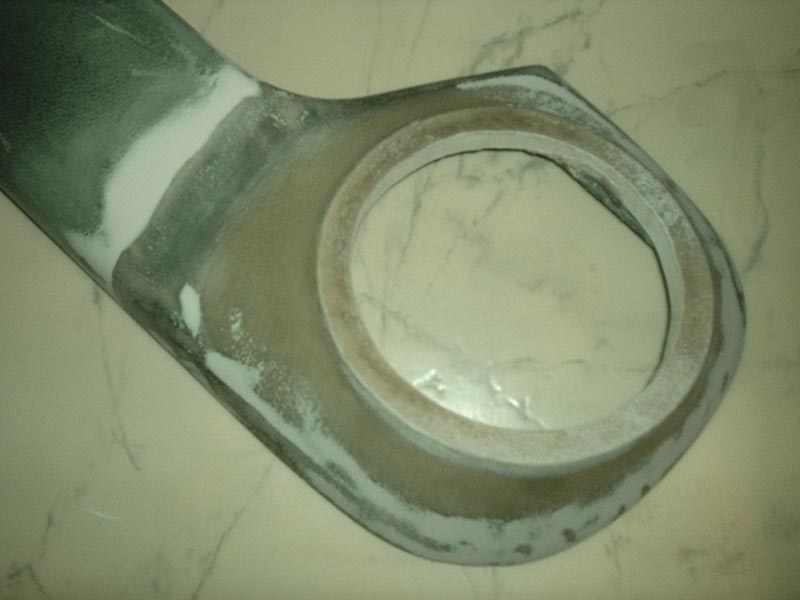
|
||
|
micratech » CMF Member Geithus Norway Member since:      Posts:      |
Re: Micratech audio install progress (PICS) |
Thu 08 Dec 2005 02:02:13 AM |
|
Here is another pic of the pod after sanding, but from another angle..
|
||
Image Attached: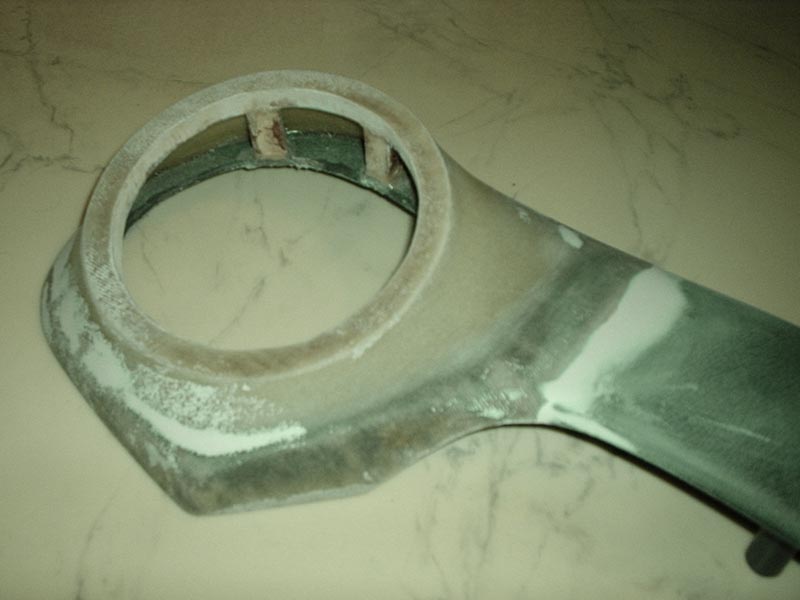
|
||
|
antish_r » CMF Member melbourne Australia Member since:      Posts:      |
Re: Micratech audio install progress (PICS) |
Thu 08 Dec 2005 03:19:30 AM |
|
nice keep it up good work
|
||
|
NotAnotherSSS » CMF Member Brisbane Australia Member since:      Posts:      |
Re: Micratech audio install progress (PICS) |
Thu 08 Dec 2005 10:18:06 AM |
|
micratech, how are you going to maintain the standard leather-look pattern on the new part of the trim?
Cover it in vynil or something? Pimp-licious velour? :p |
||
|
antish_r » CMF Member melbourne Australia Member since:      Posts:      |
Re: Micratech audio install progress (PICS) |
Thu 08 Dec 2005 03:31:18 PM |
|
what about painting it???
it might work too |
||
|
micratech » CMF Member Geithus Norway Member since:      Posts:      |
Re: Micratech audio install progress (PICS) |
Fri 09 Dec 2005 10:20:28 PM |
|
Thanks for all the kind words guyes! = D
I`m planning to use grey leatherlook vinyl to cover the pod. This way it will blend nicely with the rest of the factory interior trim.. I am always aiming for that "factory on steroids" look..hehe! |
||
