Painting your disc rotors
9 May 2004
This simply but very effective improvement doubles as both an aesthetic improvement and also as protection to stop the inner hub area of your disc rotors from rusting badly.
After installing those alloy wheels that you've always wanted, there's nothing worse than looking through them and seeing a view spoilt by ugly rusted disc rotor centres!
Note: If you are using aftermarket DBA rotors, they already come with the inner section coated or painted so you won't need to do this.
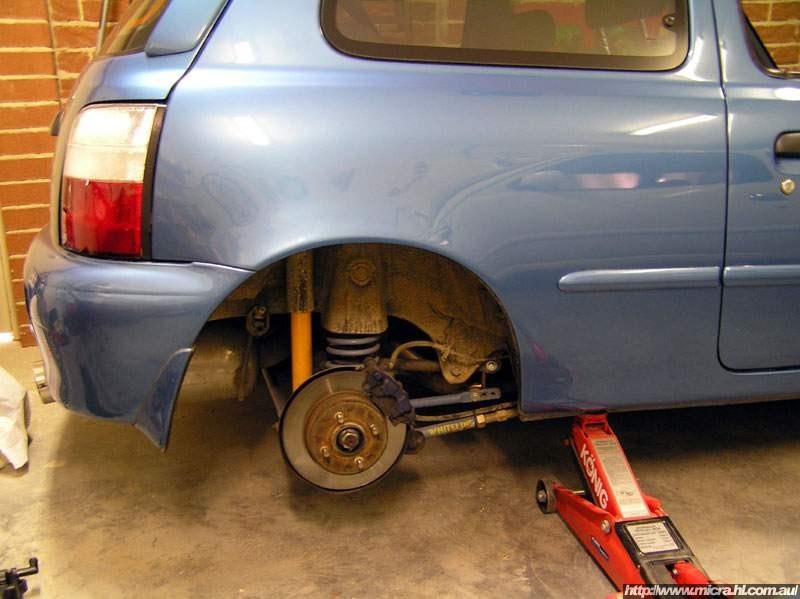 |
Jack the vehicle up and remove the wheel at the corner of the car you are working on. |
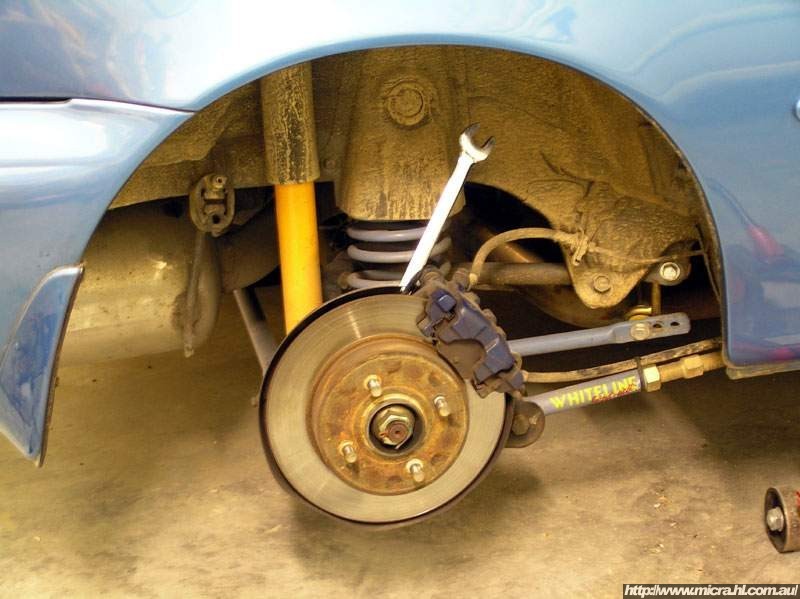 |
With a 17mm spanner, remove the two bolts that hold the caliper in place. Once the bolts are removed, gradually work the caliper loose from the disc rotor until you can slide it out over the disc rotor so that its just dangling by the brake lines - be careful to not kink or put too much strain on the brake lines and support the caliper somehow while its not bolted in place. |
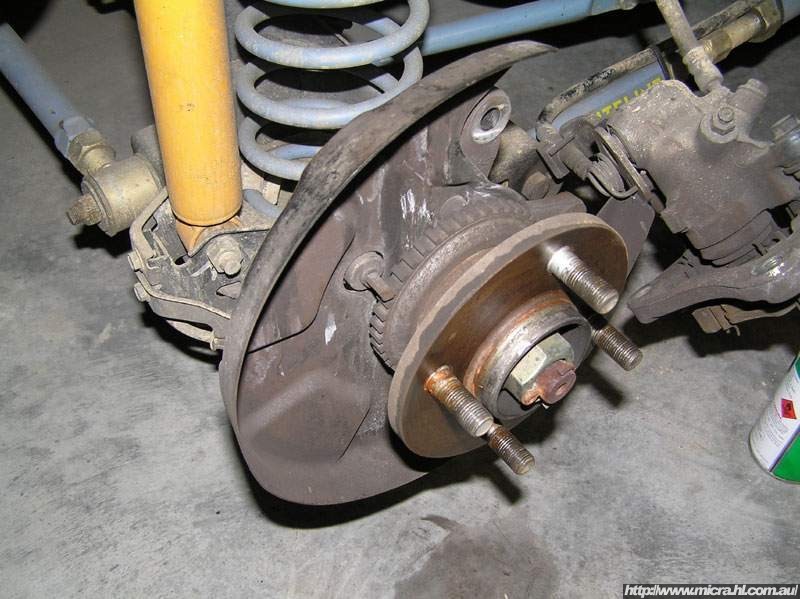 |
Next, simply remove the disc rotor from the hub. In some cases the rotor can be bonded on very tightly. If this is the case, some WD40 or equivalent sprayed in at the wheel studs in combination with rocking the rotor loose or gently tapping it with a mallet can help free it up until it can be removed. Be very careful when tapping or rocking the car while it is jacked up, it can cause the jack to move and the car to fall on you. Here on my Super S micra you can clearly see the ABS sensor. This consists of a magnetic sensor positioned just above a wheel containing many metal teeth. Each time the teeth go past the sensor, it knows that the wheel must be rotating. Obviously if the sensor experiences no magnetic pulses, the wheel must be locked so the ABS knows to release the brakes slightly. It monitors each wheel in this fashion in combination with some other input variables such as the vehicles speed. |
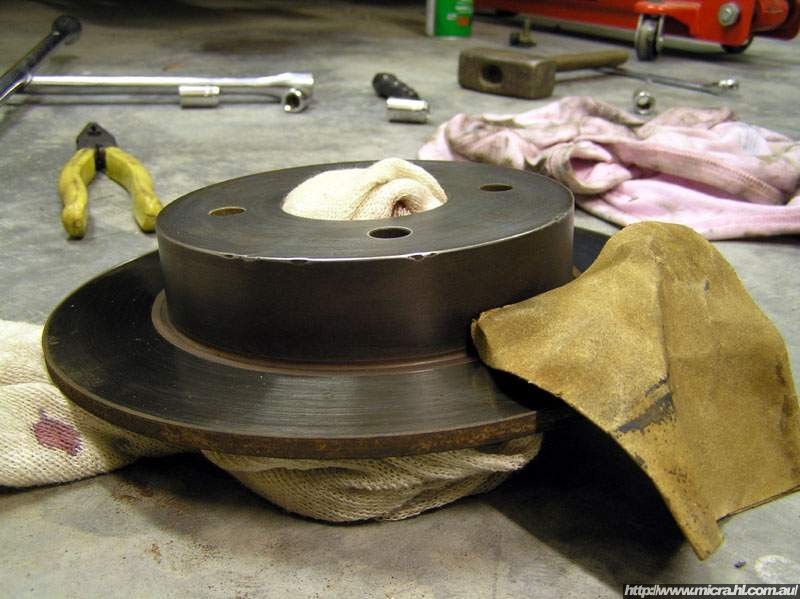 |
Sand the rusted, rough centre hub part of the disc rotor back removing all rust and cleaning up nicely with a damp rag to remove all traces of the metal filings and rust particles. Ensure the metal is then totally dry and clean before considering painting. Note: be careful not to sandpaper the actually contact area of the rotor that the brake pads rub on. |
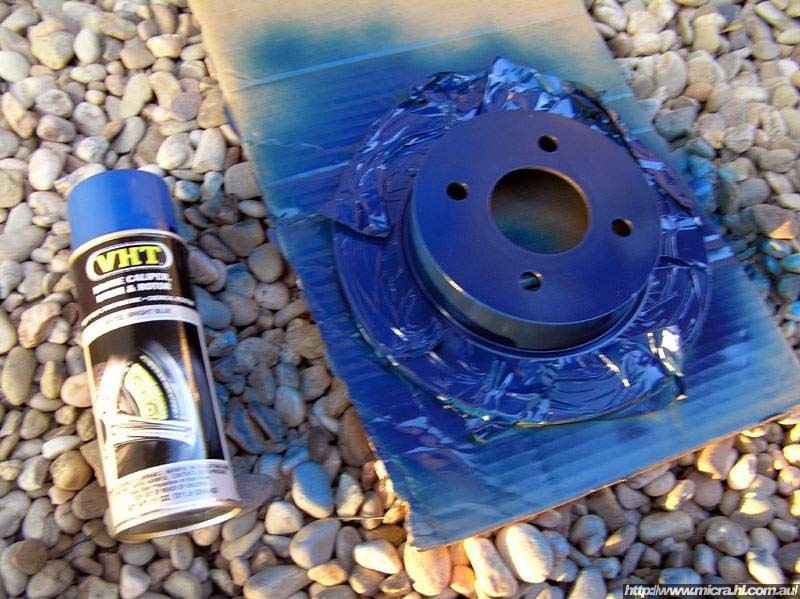 |
Get hold of some high temperature brake caliper and rotor paint like this can of VHT stuff. Its rated to 490 degrees celcius and bonds directly onto metal without the need for any etch primer. It costs approximately $AUD12, however its worth it. Mask the disc rotor carefully so that you don't spray the contact area of the rotors. I masked allowing a tiny edge of blue paint to be sprayed onto the contact area, because this very small amount of overspray will be worn off by the pads on the first drive, which will ensure that I have a smooth edge of my blue paint rather than underspraying and still having bare metal parts because I didn't paint close enough to the contact area. I did two decent coats and gave it approx 20 minutes to semi-dry between coats. |
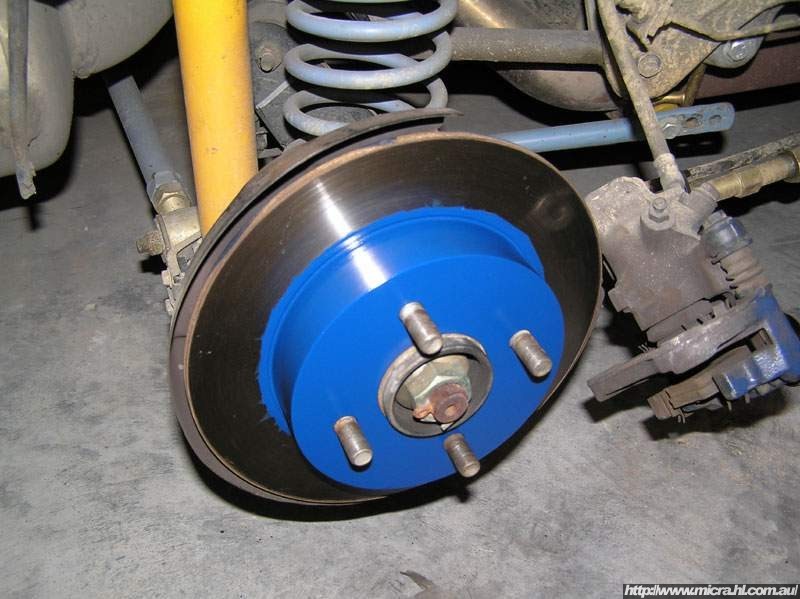 |
Here's the finished result. Note the rough edge as mentioned above will be worn away to form a perfect edge once you go for the first drive. Looks very bright! Came up great. |
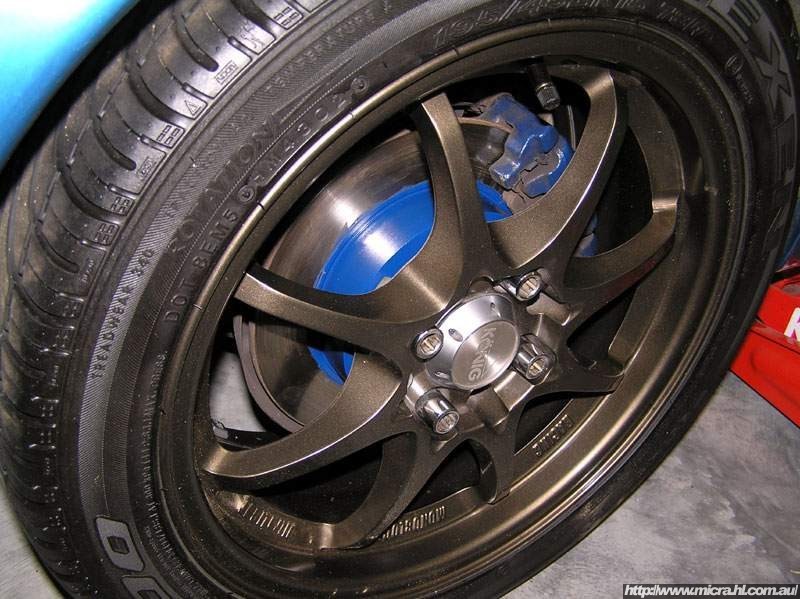 |
And again, but with the wheel fitted. |